Method Replace A 3.5 mm Headphone Jack
If you are thinking to replace a 3.5 mm headphone jack of a cheap pair of headphones, it’s probably not worth it. But if you’ve invested in an expensive pair that suddenly stopped working, you can try replacing the connector to see if that fixes the problem.
Hearing aid cables usually come loose from the connector over time, so soldering the cables to a new connector can cause your hearing aids to work again. Make sure you know how to fix broken headphone jack.
If your headphone jack is bent or damaged, you can replace it with a new one. Pay attention to the correct size of the jack, which is generally 3.5 mm.
After identifying and repairing the damage, you can connect your headphones to your audio source that you usually use and try to carry out the relevant tests for hearing and sound reproduction.
The satisfaction of being able to repair your broken headphones that are not working well will make you feel really good and now you can enjoy your good music in total relaxation!
Replacing the 3.5mm stereo jack
Step 1
Cut the current 3.5mm jack where the base meets the hearing aid cables.
Step 2
Remove the outer covering of the hearing aid cables until you see approximately 1/2 inch (1.25 cm) of the stripped cable. You should see a green wire, a red wire, and two copper wires.
Step 3
Keep the green and red wires apart. Twist the two copper wires together to make a single wire. Light a match. Hold it for two seconds until you reach the end of each wire.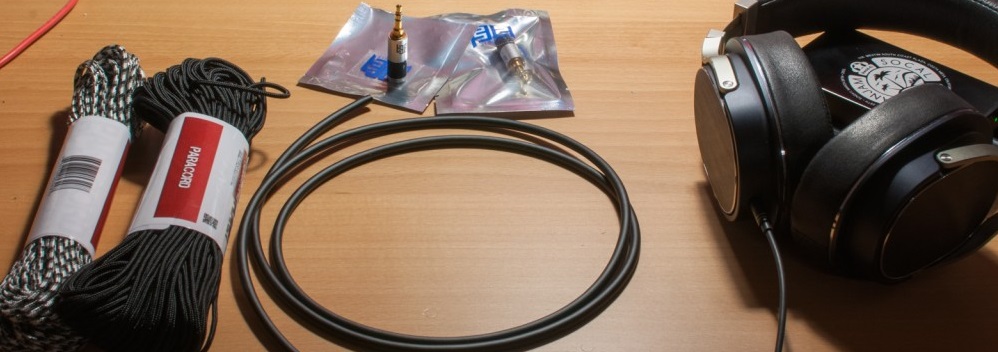
Step 4
Unscrew the metal part of the new connector from the plastic cover. Carefully wind the three cables through the base of the new connector, so that they are exposed at the end of the plastic cover.
Step 5
Place the metal part of the connector on the screw to hold it while soldering, or tape the metal part of the connector to the table to hold it steady.
Solder the wires to the terminals at the base of the metal part of the new connector. Solder the copper wires to the large outer terminal.
Solder the green wire to the middle terminal. Solder the red wire to the third terminal. Let the solder cool down.
Step 6
Remove the metal part of the connector from the screw. Screw the connector back into place. Secure the connector base to the hearing aid cables with electrical tape, making sure that any exposed parts of the wiring are completely covered by the tape.